You will need –
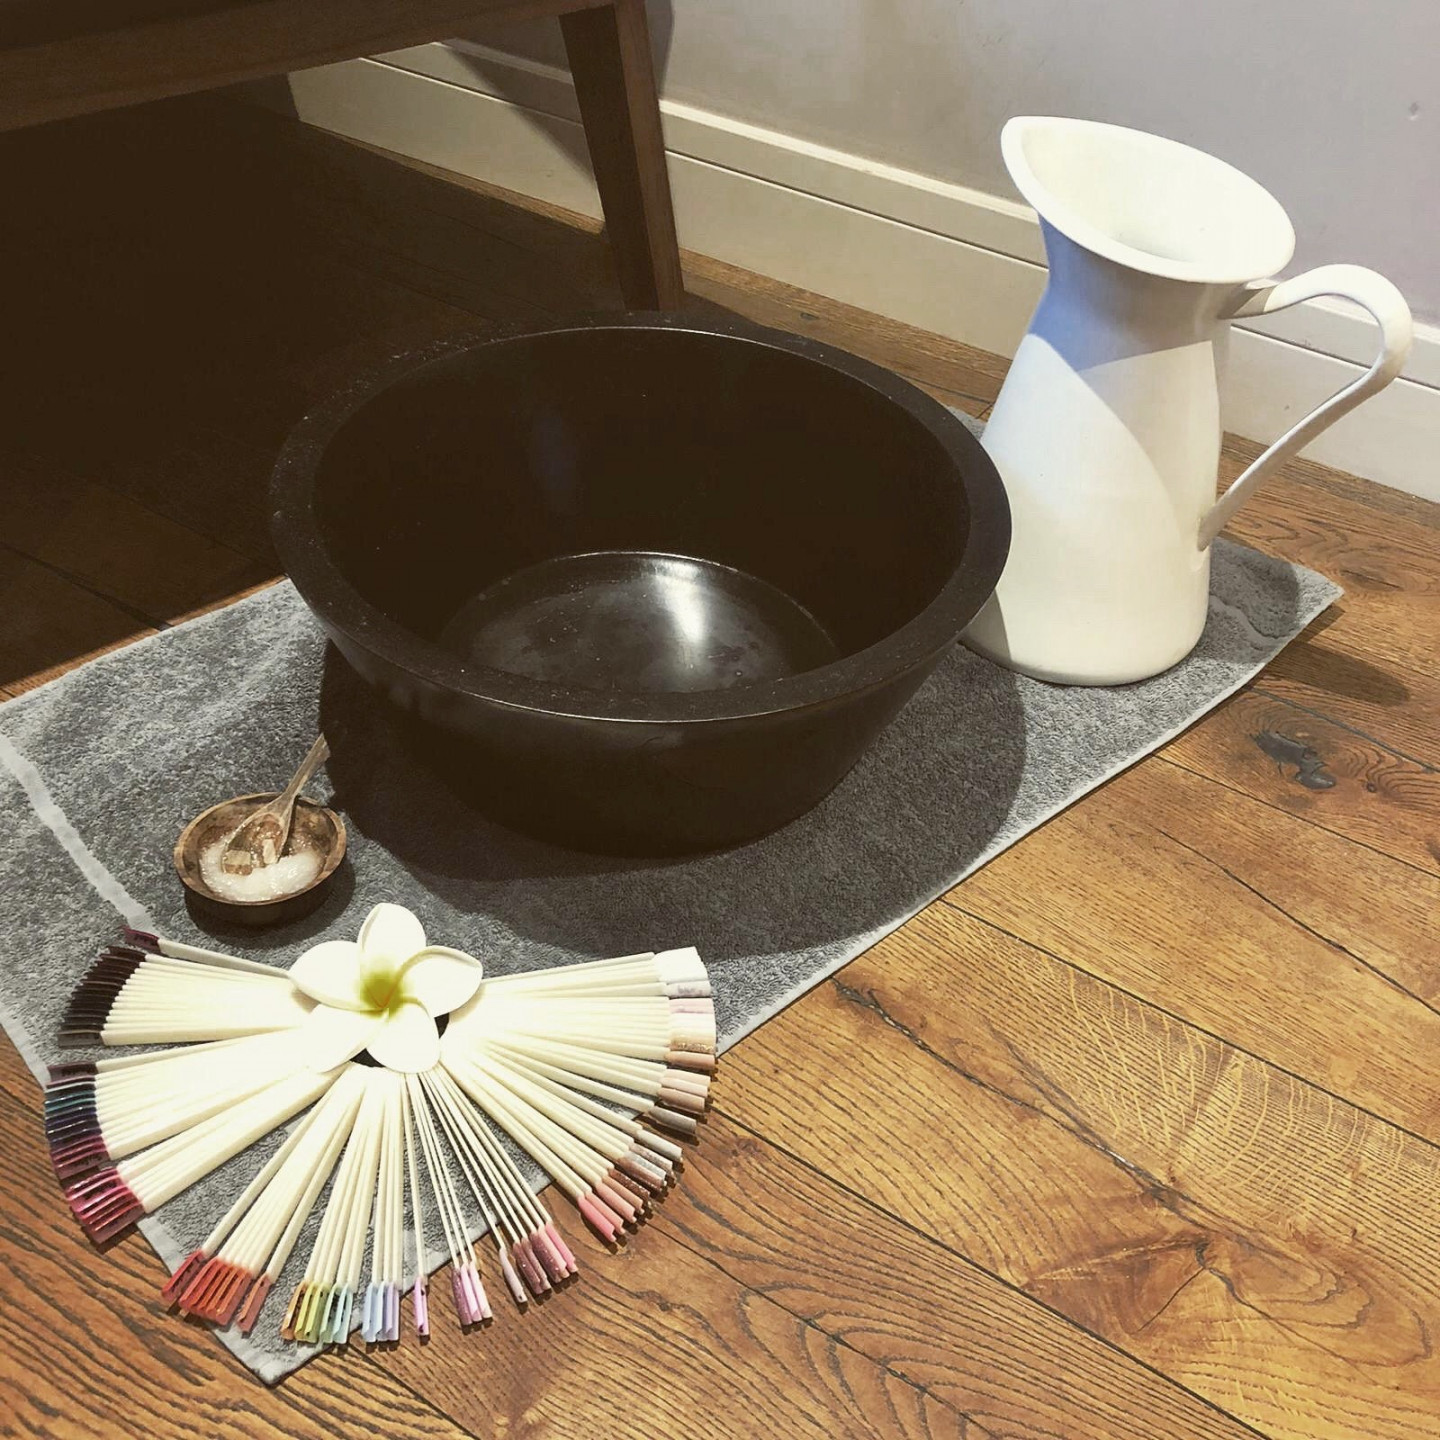
•A bowl wide enough to put your feet into i.e. an old washing up bowl or a foot spa if you have one at home
• One bath towel and one hand towel
•A bubble bath/shower gel/foot soak/salt
•A body scrub/exfoliator
•A foot rasp or a pumice stone
•Nail clippers/scissors, a nail file and a cuticle stick if you have one
•An intensive or thick body moisturiser or a moisturiser specifically for feet if you have one
•2 x everyday tissues or kitchen roll
•Cotton wool pads and nail varnish remover
•A base & topcoat and your favourite nail polish
Method
Step 1. Find a comfortable place to do your pedicure with a comfortable chair and small table/small coffee table to put your products and tools on. Lay your bath towel out in front of the chair.
Step 2. Fill your bowl up with warm water and a dash of your chosen bubble bath/shower gel/foot soak/salts and place it onto the towel on the floor. Sit down and relax with your feet in the bowl and let them soak for between five and ten minutes.
Step 3. Whilst one foot is soaking, carefully lift one foot out above the bowl and use your body scrub to exfoliate the foot, focussing on any hard skin. Put this foot back in the bowl and repeat on the other.
Step 4. Take both of your feet out and put them onto the towel on the floor. Move your bowl to one side. Thoroughly dry your feet using your hand towel.
Step 5. Carefully cut your toenails, making sure you cut them straight across. This is important for avoiding in-growing toenails. Then use your nail file in one direction to smooth the ends of your nails.
Step 6. Whilst your cuticles are soft, use your cuticle stick to gently push them back towards you.
Step 7. Use your foot rasp or pumice stone to buff away any hard skin. Don’t do this for too long as taking away too much hard skin at once can make your feet very sore. Buffing hard skin on your feet once a week is enough. You can also do this before or just after soaking your feet if you prefer.
Step 8. Now apply your favourite moisturiser or foot cream and really take the time to massage it into any harder skin or tender areas on the feet. If you are lucky, ask someone in your home to do it for you!
Step 9. Take your tissue/kitchen roll pieces and twist them into a stick and weave them in between your toes on each foot to separate your toes.
Step 10. Firmly wipe over each toenail with nail varnish remover to ensure there is no moisturiser or oil left on the nail plate.
Step 11. Apply one layer of base coat, two layers of colour and one layer of topcoat for the perfect finish. If you don’t have a base or topcoat at home, then don’t worry; but we do recommend using them when you paint your nails to avoid staining your natural nail and for a longer lasting and shiny finish.
Step 12. Sit back and relax and give them around 30 minutes to properly dry. We recommend only wearing flip flops or bare feet for a couple of hours after your pedicure to ensure they are completely set.
Any questions? Don’t hesitate to contact us on our Treatment Rooms Instagram, or the Norfolk Mead Facebook page or via relax@norfolkmead.co.uk. Enjoy!

